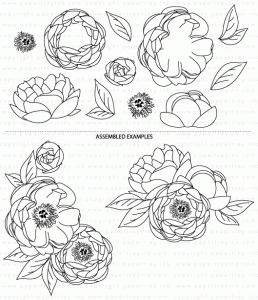
I wasn't sure I was going to make the deadline for this challenge. Coloring for me can be quite time consuming...but since the whole image didn't need to be colored I made this card in record time! I think using colored pencils gives more precise control of where color can be put down thus increasing speed too! More about the pencils I used later in this post.
I hardly ever practice on scrap paper before starting my cards. However, I wasn't sure how this technique would look with the products I wanted to use so I had to practice first.
I thought I would share my practice sheet so you can see how I figure out how to layer my flowers. I simply stamp my images overlapping then I roughly color each image in the order they get stamped in. The top image...the one closest to you get stamped first. So I lay this paper in my MISTI position the purple stamps upside down on top of the stamped practice sheet close the lid and viola they are in perfect placement for stamping on my card. After stamping the purple images I apply masks over them and then position the brown #2 images in the same way....and so on. I find this is the absolute best way to figure out how I want my stamps layered.
I used watercolor paper and some new water soluble pencils I recently received to color in my images. (I also put a blue shadow around the floral images and leaves too) They are made by Voyage designs and on Amazon today they are about $8.00 for a pack of 50 and they even come in a plastic case with a screw on lid. I have used water color pencils in the past and found it was very hard to blend out the pencil lines. Normally I just use reinkers to watercolor but I love the precise control pencils gives so I was anxious to see how these would work. I was super impressed! When I added water the lines just melted away and the colors blended beautifully! See for yourself..
You can click on the photo to make it larger. My watercolor paper had texture to it so there were much white showing through after I had colored my image. But once a little water was added..you can't even tell I started with a colored pencil. My small flower in the left corner wasn't as vibrant as I liked so I used my heat gun to dry the image then colored right over the same place and added more water. The paper accept the second layer of color very well without any peeling or the paper whatsoever. I did the coloring and painting in the water super fast...I bet I could get even better results if I took my time. I can't wait to play with these pencils some more. I do have a project in the works that shows how I used them to add depth and shading to my solid stamped images...so stay tuned for that.
Oh and another fun thing you can do with these pencils is draw in little dots of color then use the water to make halos of color around them. It almost looks like little party lights or confetti in the background of my card. Here is a close up so you can see what I mean
Supplies listed and linked below:
 PTI Peonies on Parade Stamps |
 PTI Ombre Sentiments: Birthday |
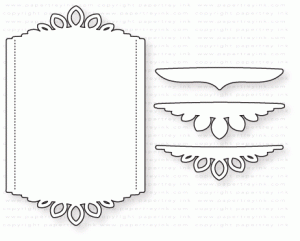
 PTI Center Style: Feminine Die |

Voyage Designs Water Soluble Color Pencils
Thanks for stopping by! Please stop back again!


0 comments:
Post a Comment