This week at Papertrey Ink we are looking back at all the various video techniques shared throughout 2016. We are to choose one technique and use that for this week's challenge. There are soo many great ones to choose from in fact it's hard to choose just one. You can see what I mean by checking out Nicole's blog HERE. I ultimately decided to do the technique I use almost every time I sit down to make a card. Make It Monday #267: Assembly Line Card Making. Laurie shared some fabulous tips to use when making multiple cards of the same design. I very rarely just make one card when I craft. It really doesn't take that much more time to make several since you already have the supplies out. The MISTI makes the process even quicker. It's truly a great way to build up a stash so you don't have to rush and make cards at the last minute.
I needed to make some masculine birthday cards. I have to admit this is a topic I often struggle with. Give me a good floral set and I could make cards all day but I'm often at a loss when it comes to making cards for the men in my life. So I decided to seek out some inspiration. I found a wonderful card by Lizzie Jones. You can see it HERE. I had to change things up a little bit since I didn't have all the supplies Lizzie used but I do like how mine turned out.
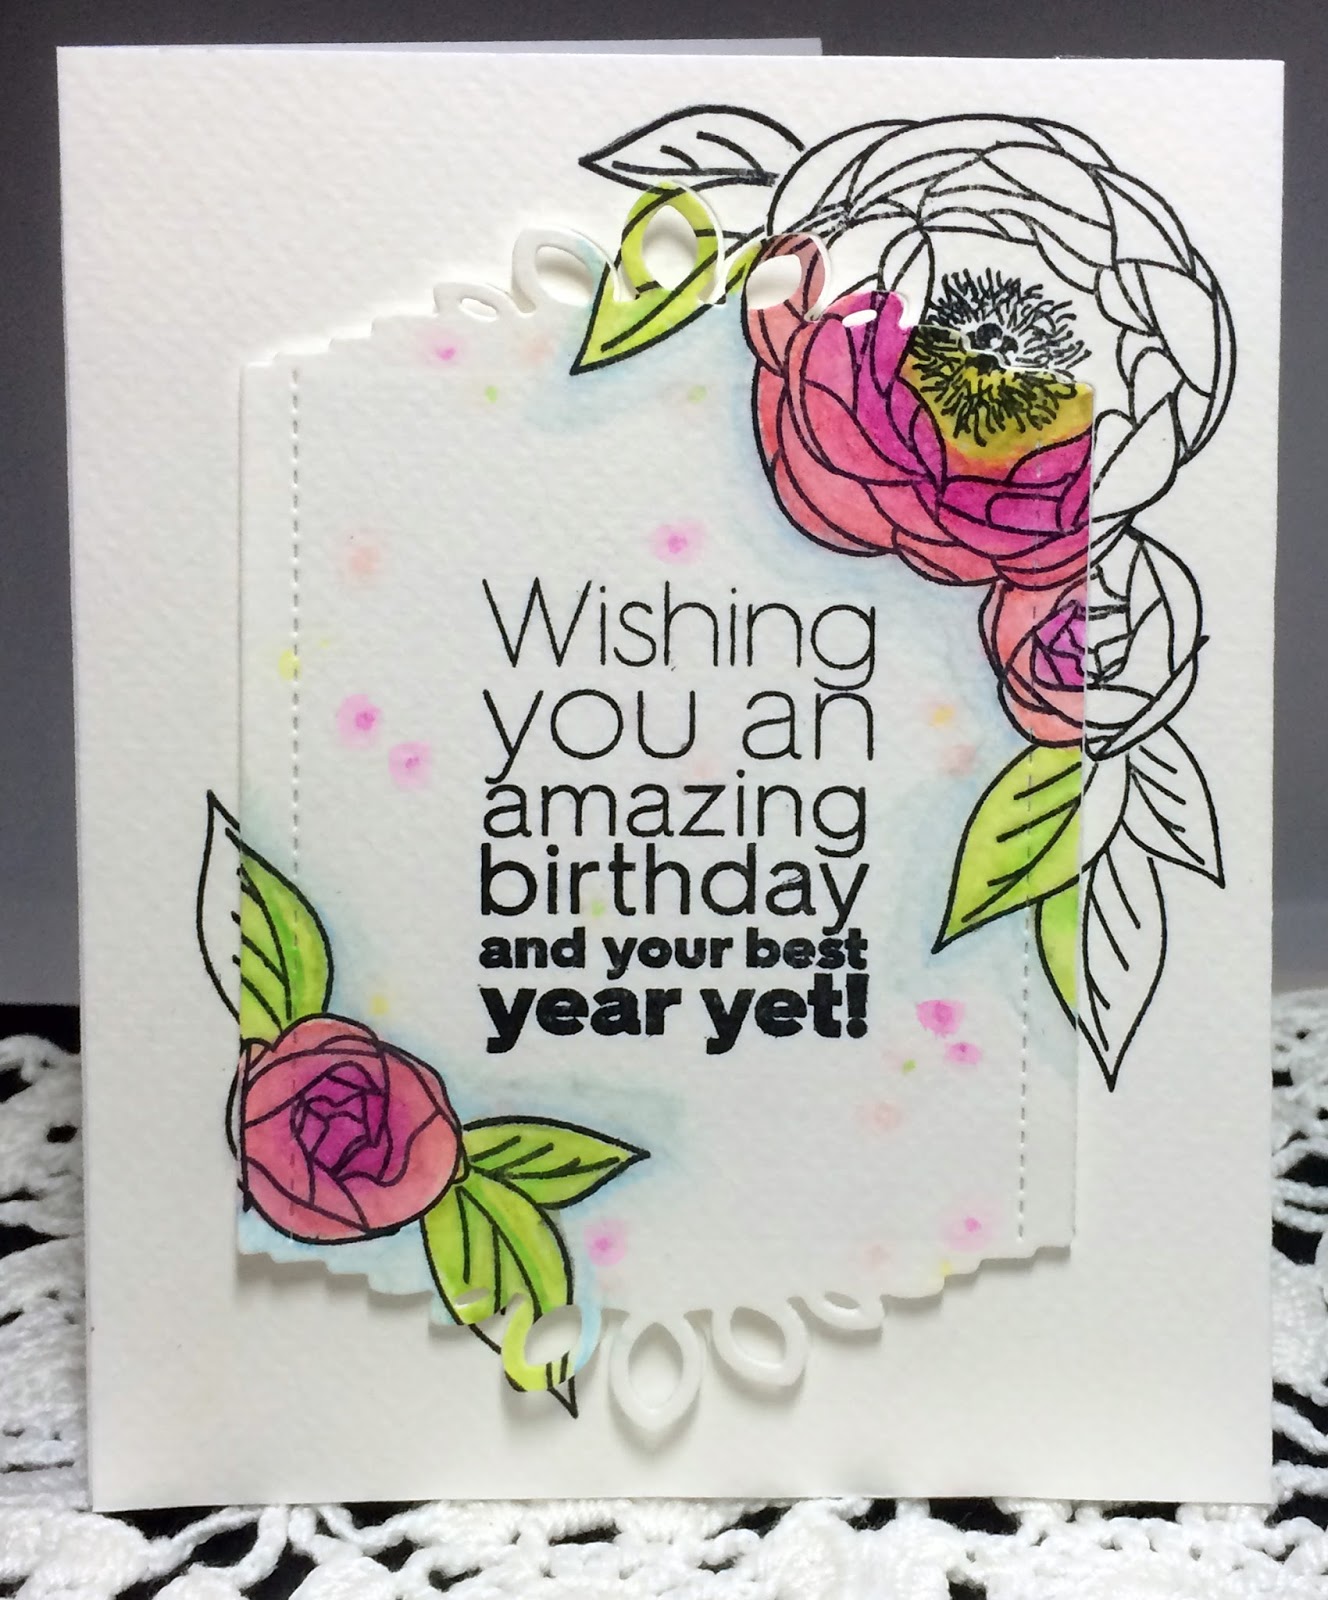
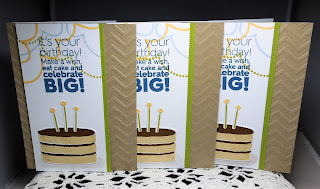 I actually made 4 of these but I had to send one out already! Here is a closer look at the individual card:
 I didn't have the streamers Lizzie used so I just stamped streamers from PTI's birthday style. I stamped the cake from PTI's just desserts with a solid ink but then added some shading to the edges with Prismacolor pencils and Gamsol in order to give the cake a more rounded appearance. I used a chevron embossing folder on the kraft card base. I often forget to use these folders but am always pleasantly amazed at how much interest it adds to a card. I used a stitched border die in place of Lizzie's pinking edge border. I also didn't have the grounding circle stamp Lizzie used so I tried to make due by drawing a circle with the colored pencils and blending it out with Gamsol.
I did use Lizzie's tip for leaving the candles in the negative space of the die cut while stamping to help things line up better but I still had difficulty. My candles definitely aren't perfect but I'm okay with that! It's the imperfections that give the card character and makes it look "handmade". I do have a tip for adhering the candles to the top of the cake. Once again peel in stick comes in handy. I simply left the candles in the negative space of the die cut applied peel and stick over the top and pressed down. The candles stick to the peel and stick wrap and can be turned over to apply glue. Then they can be placed all three at once onto the cake, I let the candles sit on the cake for a few mintues to allow the glue to set up before removing the peel and stick.
 I have one more tip for mass producing cards. I found these little bowls at the Dollar Tree. I believe you get 12 for $1.00! They are great for holding your die cut pieces before assembling your card. I will have more about these bowls later but here is a photo of how I used them on a card that had many pieces to keep track of.
 Supplies are listed and linked below:
Thanks for stopping by! Please come back again!

I needed to make some masculine birthday cards. I have to admit this is a topic I often struggle with. Give me a good floral set and I could make cards all day but I'm often at a loss when it comes to making cards for the men in my life. So I decided to seek out some inspiration. I found a wonderful card by Lizzie Jones. You can see it HERE. I had to change things up a little bit since I didn't have all the supplies Lizzie used but I do like how mine turned out.


I did use Lizzie's tip for leaving the candles in the negative space of the die cut while stamping to help things line up better but I still had difficulty. My candles definitely aren't perfect but I'm okay with that! It's the imperfections that give the card character and makes it look "handmade". I do have a tip for adhering the candles to the top of the cake. Once again peel in stick comes in handy. I simply left the candles in the negative space of the die cut applied peel and stick over the top and pressed down. The candles stick to the peel and stick wrap and can be turned over to apply glue. Then they can be placed all three at once onto the cake, I let the candles sit on the cake for a few mintues to allow the glue to set up before removing the peel and stick.


 PTI Just Desserts Stamp Set |
 PTI Birthday Style Stamp Set |
 PTI Ombre Sentiments: Birthday |
 Momento Nautical Blue Dye Ink |
 PTI Harvest Gold Dye Ink |
 PTI Spring Rain Dye Ink |
 PTI Simply Chartreuse Dye Ink |
 PTI Cocoa Bean Dye Ink |
 PTI Fine Linen |
 Lawn Fawn Stitched Border Dies |
 Prismacolor Pencils |
 Inky Antics Gamsol Coloring Kit |