Showing posts with label valentine. Show all posts

Wednesday, February 01, 2017

Love You For a Lifetime

It's February!  That means Valentine's Day is right around the corner.  Just in case you need some Valentine inspiration.  I am sharing one that I made.

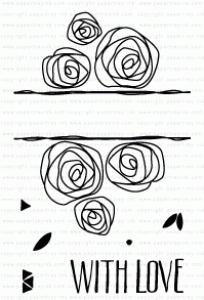
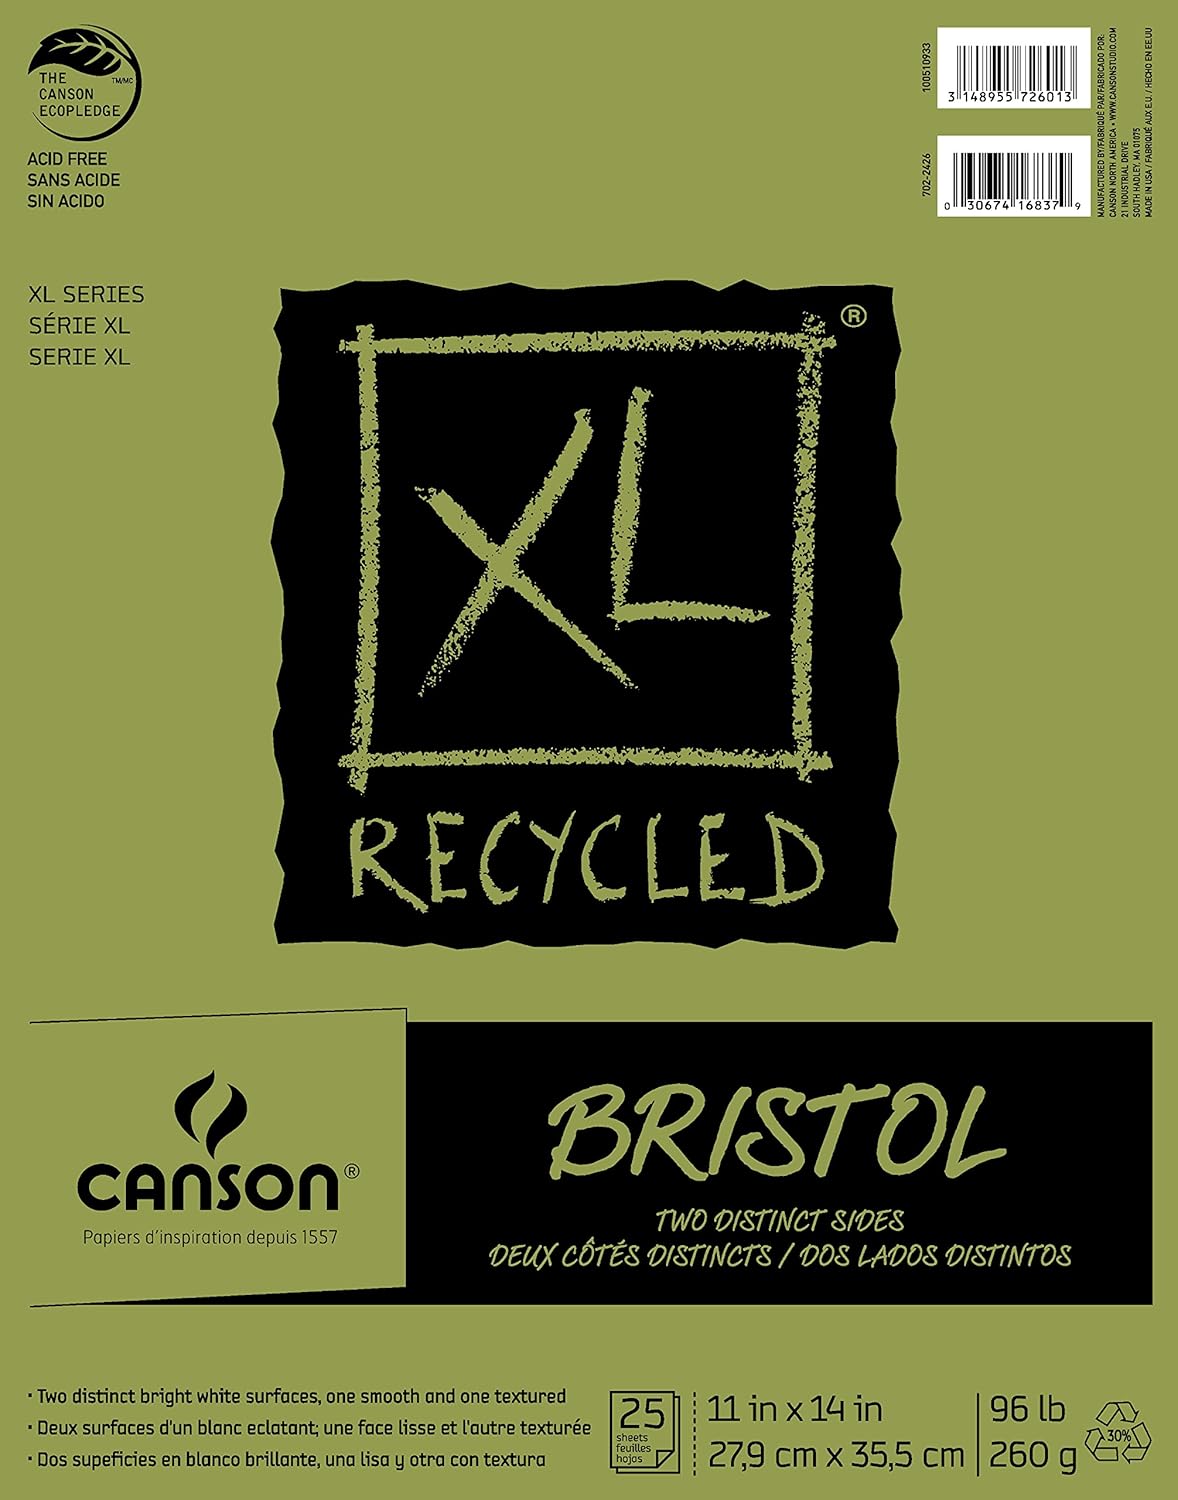
I heat embossed using white powder the rose images onto watercolor paper. A friend of mine told me about Canson Bristol watercolor paper.  It is amazing for stamping onto!  The front is vellum and the other back surface is smooth.  I cut the image out using an oval die.  I used plain old dye ink and water to color the roses and add some shading around the roses.  The leaves were stamped with dye ink.  I couldn't wait to use PTI's  Noted: vertical dies for my card base.  Those sweet little scallops are perfect for Valentine's Day!  I did some creative clipping to achieve my sentiment.  I snipped the "Love" from the phrase "Love of a Lifetime" and the "You" from the phrase "Praying for You" both of which are from PTI's Graceful Greeting two stamp set.  I just love the elegant font of this stamp set.  It really sets a romantic tone to this card.

In case you need some more Valentine inspiration..I have made a few more cards in previous posts.  Click here and here.

Supplies are listed and linked below:
HTML Code:

PTI Splits: With Love stamps

PTI Graceful Greetings II Stamps

PTI Autumn Rose Dye Ink
HTML Code:

PTI Autumn Rose Dye Ink

PTI Simply Chartreuse Dye Ink

PTI Fine Linen Dye Ink
HTML Code:

PTI True Black Dye Ink

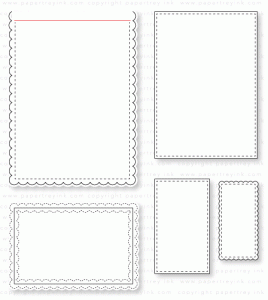
PTI Noted: Scalloped A2 vertical die set

Canson Bristol Watercolor Paper
Thanks for stopping by! Please come back again!
Share:

Thursday, January 19, 2017

Make It Monday #272: Masked Heart Wreaths

This week's Make it Monday challenge at Papertrey Ink involves making a heart wreath by using a heart mask and small stamps.  I just think Melissa is incredibly talented!  She has a knack for knowing exactly what colors and patterns to mix to make absolutely beautiful creations.   It's not surprising she has come up with an impressive video to share with us.  Please check it out on Nicole's blog HERE.
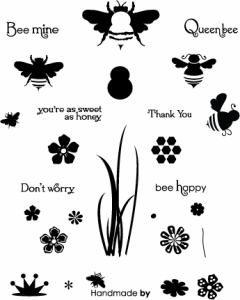
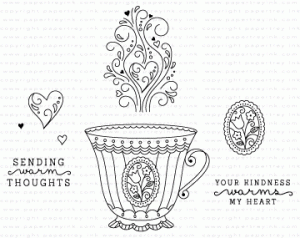
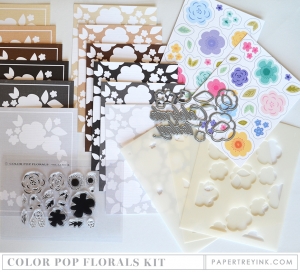
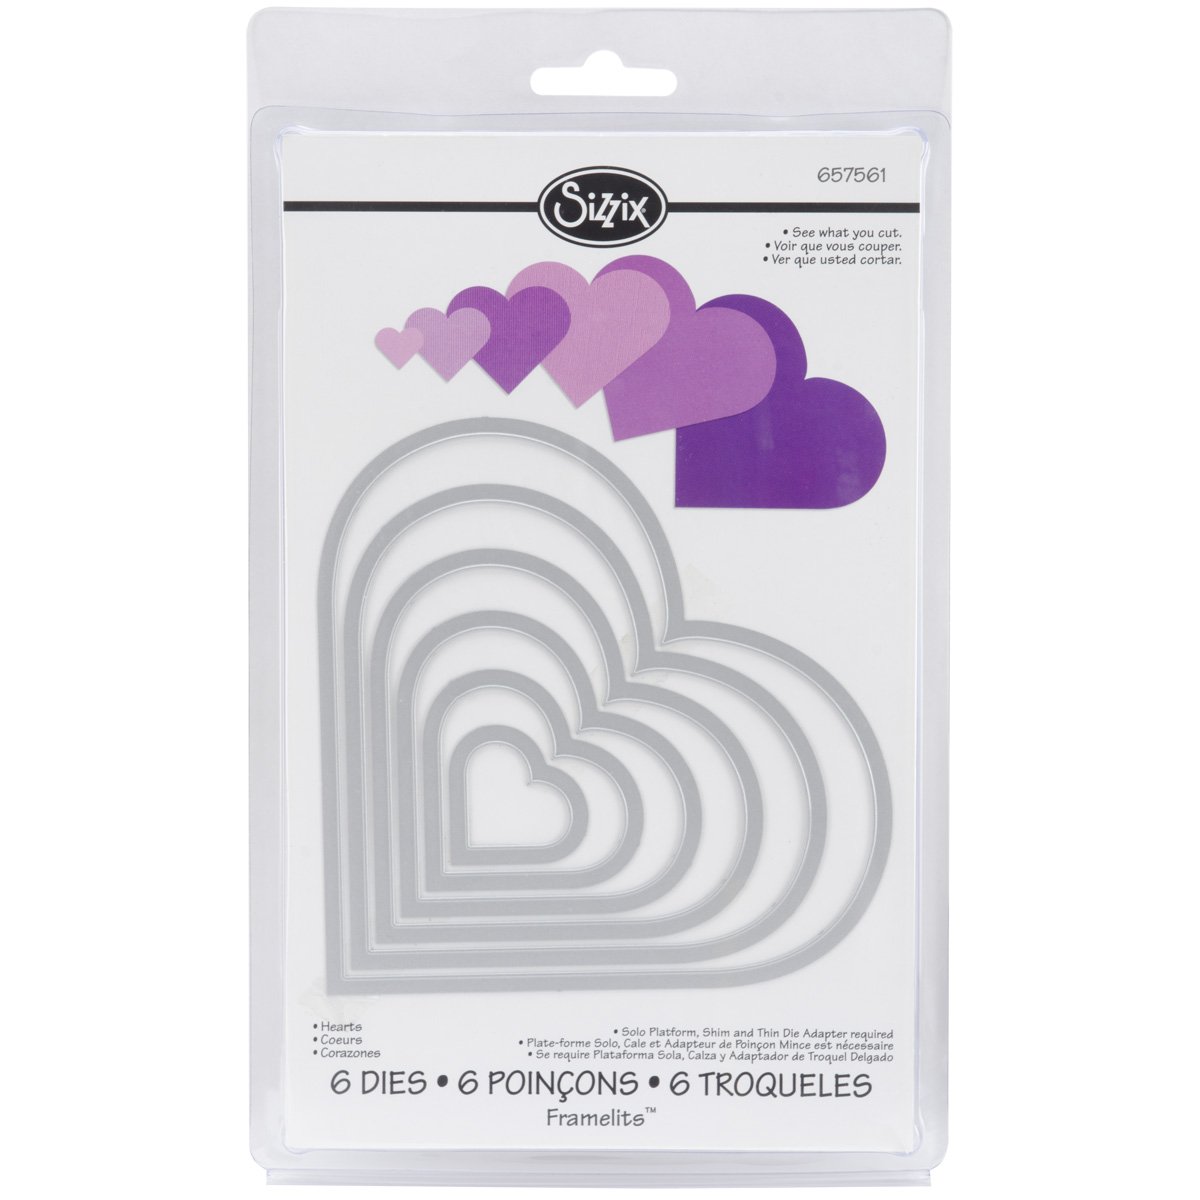
I love Melissa's card soo much that I decided to replicate her design.  I have found a post it note that is sticky on the entire back of the note works very well for masking.  I found mine at the Dollar Tree.  So I used my Sizzix Framelits heart dies to cut a mask.  This technique is wonderful for making use of some of the tiny floral stamps included with many stamp sets.  I used several different ones so I will list exactly which ones at the end of this post.  I couldn't believe my eyes when I removed my mask.  I had a darling little heart opening framed by super cute florals.  Then I started adding the leaves.  I thought oh no...I've ruined it!  I wasn't liking what I was seeing at all!  However, I kept going adding more leaves, dots, and hearts just as Melissa instructed.  The more I added he more I liked my wreath.  Those tiny hollow hearts I stamped in green were the perfect finishing touch!  I have to say I almost didn't add these because hearts are supposed to be pink or red right?  But in this instance the green hearts were perfect to add to the open spaces without taking away from the focal point.

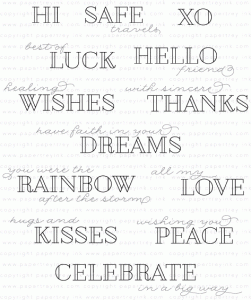
I cut the love die cut out of some handmade paper the kids and I made one Summer.  I used a sentiment from PTI's Colorful Words stamp set.  I originally wasn't going to even buy this stamp set but we ended up doing a split on the forum so others took a few of the sentiments I didn't think I would use.   However, I'm so glad I bought this set as I've used it so much!  I haven't colored the letters yet just stamped it in colored ink or heat embossed it.  I would love to see how it looks foiled!  Anyway, does this happen to you?  You get an item and don't think you're going to love it but once you start using it...you wonder how you lived without it! 

A strip of PTI's chicken scratch gingham paper and some sequins finishes the card.

Supplies are listed and linked below:

Flowers:

PTI Frienship Jar Flowers

PTI Honey Bees Stamp Set

PTI Ruby Reprise (No longer available)

Hearts:

PTI What the Doodle: Tea Time stamp set


Leaves:


Make It Market Mini Kit: Color Pop Florals

PTI Turning a New Leaf Stamp Set

Sentiments:


PTI Inspired: Love die

PTI Colorful Words Stamp Set

Inks:

PTI Hibiscus Burst Dye Ink

PTILovely Lady Dye Ink

PTI Lavender Moon Dye Ink

PTI Lilac Grace Dye Ink

PTI Sweet Blush Dye Ink

PTI Berry Sorbet Dye Ink


PTI Mint Julep Dye Ink

Heart dies used to cut post it note mask:

Sizzix Framelits: Hearts Die Set


Thanks for stopping by!  I am on a mission to reorganize my craft room again.  I will be sharing some tips and pics on my blog here in the near future.  Please stop by again!

Share:

Sunday, February 07, 2016

Papertrey Ink Make it Monday #238 and Case This Sketch #158

This week's make it Monday involves Valentine Ombre Stamping.  Melissa has a wonderful video showing how she created a beautiful Valentine card using ombre stamping.  Check it out here.

I really didn't have much Valentine stamps or dies so I decided to use an tweed (looks like an arrow to me!)  stencil to make my ombre Valentine.

I sought out the latest sketch challenge over at Case This Sketch for inspiration.

I used distress ink to ink up the stencil.  I am always amazed at how effortlessly the distress ink is to blend together!  I used baker's twine to mimic the three lines behind the oval.  A heart is more suitable for a Valentine so thus that replaced the oval.  I normally stamp elements on white card stocking using colored ink but this time I think the colored card stock helped the elements stand out more.
I cut the small heart on the tag  out of plain ordinary white fun foam.  You know the kind the kids play with.  I colored it with a Copic marker to make it red and an interesting thing happened. After coloring the foam took on a glittery appearance. I tried to capture it in the photo above to show you but it really is very glittery in person.  I used foam tape to pop up the rose a bit.  I also heat embossed the sentiment on the tag and inked the tag edges a bit to give some depth.

Supplies are listed and linked below:

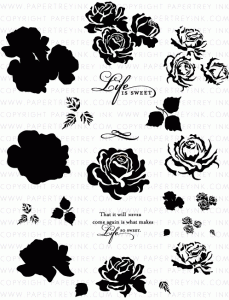
PTI The Sweet Life Stamp Set

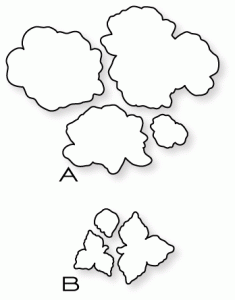
PTI The Sweet Life Die Collection (set of 2)

Hero Arts Prayers Stamps


PTI Tiny Tags Die

PTI Sweet Blush Cardstock

PTI Simply Chartreuse Cardstock

Ink for Roses:

PTI Sweet Blush Dye Ink
Layer 1

PTI Berry Sorbet Dye Ink
Layer 2

PTI Pure Poppy Dye Ink
Layer 3

Ink for leaves:


Momento Pear Tart Dye Ink
Layer 1

Momento Bamboo Leaves Dye Ink
Layer 2
PTI=Papertrey Ink
Thanks for stopping by! Please come back again!
Share:

Friday, January 22, 2016

Papertrey Ink Make it Monday #237 Matchbook Valentines

My daughter wants to make her own handmade Valentine's this year. So we were thrilled when we discovered the latest Make it Monday challenge at Papertrey Ink. Lexi has a wonderful video tut that shows exactly how she makes these cute little matchbook Valentines. Check out the details here.   I thought I would just go ahead and make one to get an idea if this was doable.  This is what I came up with:


They were super easy to do and I can't wait to see what type of decoration Adoree wants to add to hers!

I just grabbed one m and m candy bag we had in our cabinet.  I love the prepackaged Valentine design ones but didn't get a chance to purchase some and get the matchbook done before the challenge is over.   I was soo excited to use these much neglected heart brads since they matched the theme so well.  However, I don't think they hold as securely as the staples.  So I would recommend just using the staples and covering them up with some decorative tape as Lexi did.

Oh and hubby and the kids got me the rose stamp set for my birthday.  (Thanks soo much!)  Isn't it stunning!  It's my first layering stamp set and I can't believe how much depth you get by layering the stamps up!   The MISTI tool makes lining things up soo much easier!  I love my MISTI!!!!  Jennifer McGuire shows how she used a MISTI and a rose stamp set to mass produce some cards in case you are curious here.  I hope to give her design a try soon!  Be forewarned...you might be seeing lots of these roses!

Supplies are listed and linked below:

PTI The Sweet Life Stamp Set

PTI The Sweet Life Die Collection (set of 2)

Brushed Blooms Stamp Set


Most Incredible Stamp Tool Invented

MISTI for short

4” White Paper Doilies

Sizzix Framelits Die Set 6PK - Hearts

Ink for Roses:


PTI Sweet Blush Dye Ink
Layer 1

PTI Berry Sorbet Dye Ink
Layer 2

PTI Pure Poppy Dye Ink
Layer 3

Ink for leaves:


Momento Pear Tart Dye Ink
Layer 1

Momento Bamboo Leaves Dye Ink
Layer 2

My embossing powder is quite old but here is something similar:
  White Embossing Powder
White Embossing Powder

Thanks for stopping by!  Please come back again!
Share: