It's time once again for the Create Along With Us Challenge at Papertrey Ink. The designer's have been super busy creating many wonderful projects during release week. So the challenge involves picking one of their projects and using the supplies we have on hand to mimic it.
I chose a vibrant, gorgeous floral card by Kay Miller.
You can see more details about this wonderful card on Kay Miller's blog by clicking HERE. I just love the colors Kay used so I was excited to get creating! Here is what I came up with:
I wanted to add some shading to my solid stamped images. So I took out my Prismacolor Pencils. I simply outlined the edge of the flower with a pencil a shade darker than the ink I used. I then blended out the pencil lines making them softer with Gamsol. It is amazing what a difference that little bit of pencil makes. See for yourself in the photo below:
I liked Kim's flower centers too so I mimicked them by drawing in the centers with a white gel pen.
I found this design to be quite versatile so I made 4 cards some with a few other sentiments:
I didn't think sequins would be appropriate if giving this card to someone who is having a hard time in life. So I drew in little 3 black dot clusters where the sequins are in the other cards.
Supplies listed and linked below:
Thanks for stopping by! Please come back again!
I chose a vibrant, gorgeous floral card by Kay Miller.
You can see more details about this wonderful card on Kay Miller's blog by clicking HERE. I just love the colors Kay used so I was excited to get creating! Here is what I came up with:
I chose to use Papertrey Ink's Floral Sketches as my floral focal point. I brushed on tropical teal ink behind the bouquet just as Kay did. To make things a little easier I arranged my bouquet where I wanted it on my card then I place Glad's Press and Seal over the bouquet and flipped it over. The bouquet sticks to the Press and Seal making it easy to figure out where to put the inked backdrop. I have attached a photo below to show you better what I have described. Laurie Willison has a wonderful video that shows Press and Seal in action. Click HERE to see the video.
I liked Kim's flower centers too so I mimicked them by drawing in the centers with a white gel pen.
I found this design to be quite versatile so I made 4 cards some with a few other sentiments:
I didn't think sequins would be appropriate if giving this card to someone who is having a hard time in life. So I drew in little 3 black dot clusters where the sequins are in the other cards.
Supplies listed and linked below:
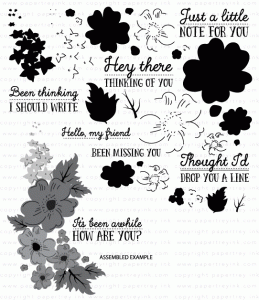 PTI Floral Sketches Stamp Set |
PTI Everyday Classics (2009 Anniversary Edition |
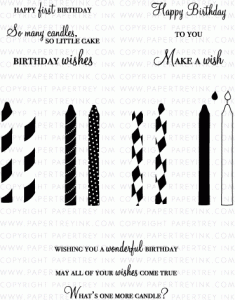 PTI Wishes Come True Stamp Set |
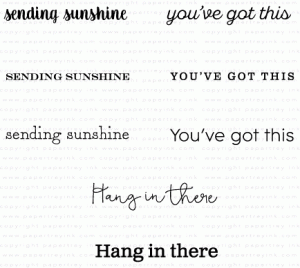 PTI Keep It Simple: Encouragement |
 PTI Amethyst Allure Dye Ink |  PTI Raspberry Fizz Dye Ink |
 PTI Bright Buttercup Dye Ink |
 PTI Simply Chartreuse Dye Ink |
 PTI Tropical Teal Dye Ink |


