Amy has a wonderful video showing 3 ways to use string art on your cards using die cuts. Check out the video HERE.
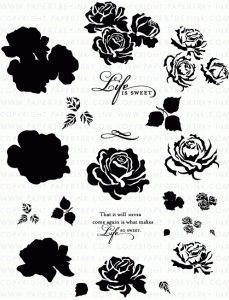
 I used a PTI Woodblock Prints stencil and Clarity stencil brushes to apply my background pattern on pale peony cardstock. I absolutely love these brushes! They make it easy to apply ink to the stencil with no splotchiness and no foam getting stuck in the stencil to worry about. I also love this new pale peony color by PTI. It is a shade lighter than melon berry thus making it perfect for layering in these flowers from PTI's Graceful Greetings II. I wrapped some gold thread around a scallop oval. I added some gold glitter embossing powder to some of the stamped flowers. I added one more gold element by using gold posterboard as my card base. (Thanks to a good friend I have quite a bit of this to use...she mentioned you can get it really cheap sometimes at Hobby Lobby...a great alternative to expensive gold cardstock but still looks just as nice). Isn't that big "Thanks" die just lovely. I cut it in Berry Sorbet. I love how the bold size makes it star of the card...conveying my thanks in a big way! Oh I almost forgot I also added tiny dots of gold to the middle of each flower in my background paper using a Copic Twinkling Stars gold marker. I hardly ever use metallics in my projects but I do love the royal look of gold. I should use it more often!
Supplies listed and linked below:

Copic Gold Glitter Marker
Note: I couldn't find the exact items I used to link to for the gold embossing powder, poster board, and the gold thread so I linked to similar items.
Thanks for stopping by! Please come back again!


Supplies listed and linked below:
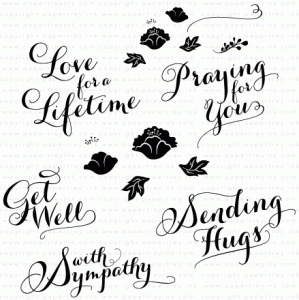 PTI Graceful Greetings II Stamps |
 PTI Big Basics: Thanks Die |
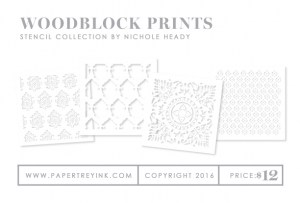 PTI Woodblock Prints Stencils |
 PTI Pale Peony Dye Ink |
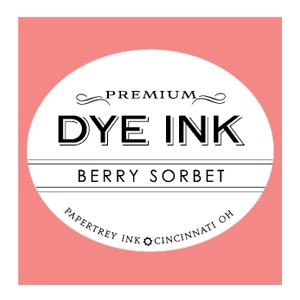 PTI Berry Sorbet Dye Ink |
 PTI Aqua Mist Dye Ink |
 Momento Pear Tart Dye Ink |
 Clarity Stencil Brushes |
 Wow Embossing Glitter Gold |
 PTI Hawaiian Shores Dye Ink |
 Metallic Gold Thread |
 Metallic Poster Board |
Copic Gold Glitter Marker
Note: I couldn't find the exact items I used to link to for the gold embossing powder, poster board, and the gold thread so I linked to similar items.
Thanks for stopping by! Please come back again!