Showing posts with label chevron. Show all posts

Saturday, February 13, 2016

Papertrey Ink 9th Anniversary Dress Up Inspiration

Day two of Papertrey Ink's 9th Anniversary challenge involves making something inspired by a piece of clothing. I found this cool shirt on Zulily.com

You can find it here.  I loved the chevron pattern and the unique color combo so I set about making a card mimicking those features.

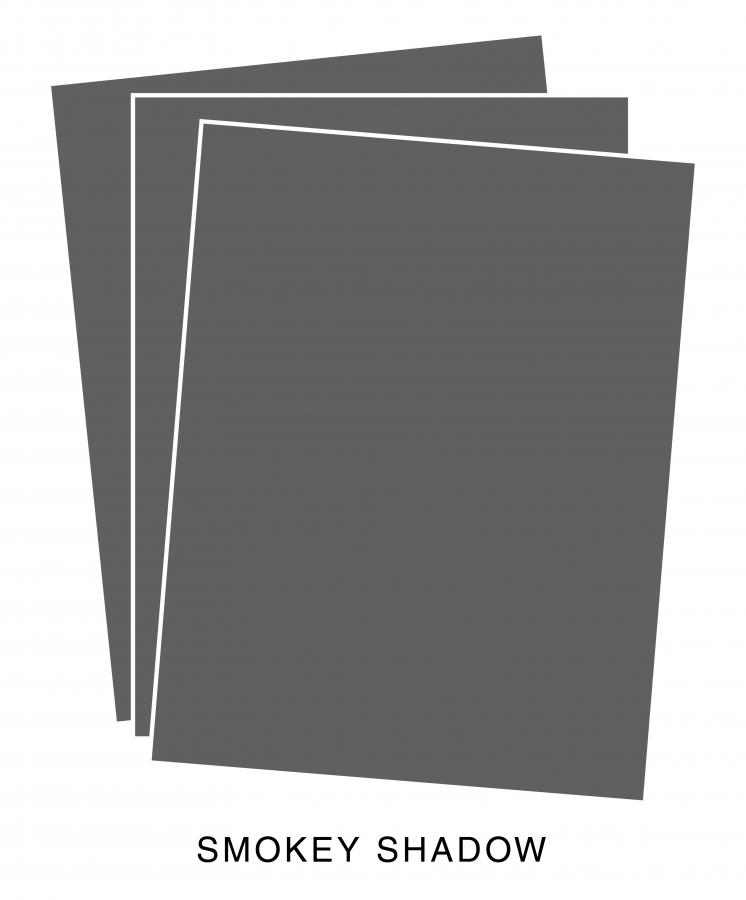
The chevron pattern was easy to create using my MISTI and the PTI chevron stripes stamp set.  I followed this wonderful video by Maureen Wong.  It's called Modern Borders Backgrounds.  I embossed my stamped chevron paper with a retired Stampin Up Sizzix distress embossing plate to give it more of a texture similar to fabric. I cut the text block die out of aqua mist cardstock and also smokey shadow adhering the smokey shadow one slightly offset to create a shadow.      I'm not sure the sequins look right.  I always have a problem with trying to place the sequins randomly.  However, I really wanted to pull in that blue/teal color.

Supplies are listed and linked below:
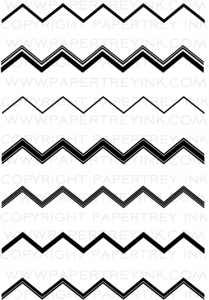

PTI Background Basics: Chevron Stripes Stamp Set

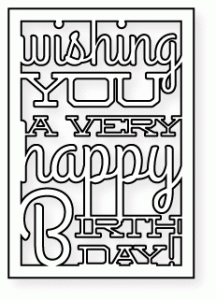
PTI Text Block: Birthday Die

PTI Berry Sorbet Dye Ink


PTI Aqua Mist Dye Ink

PTI Melon Berry Dye Ink

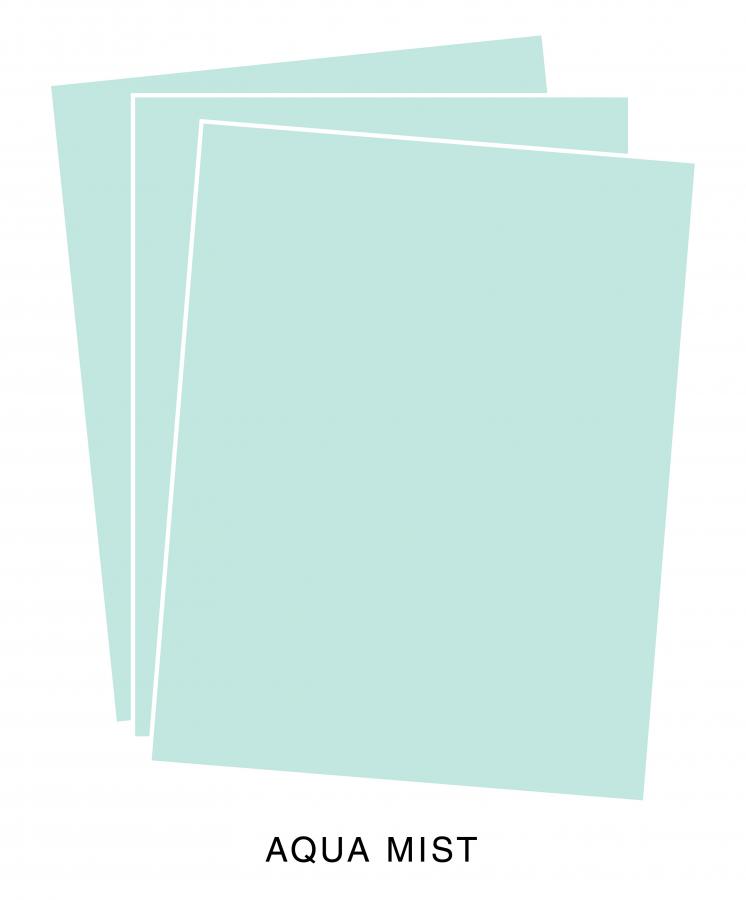
PTI Aqua Mist Cardstock


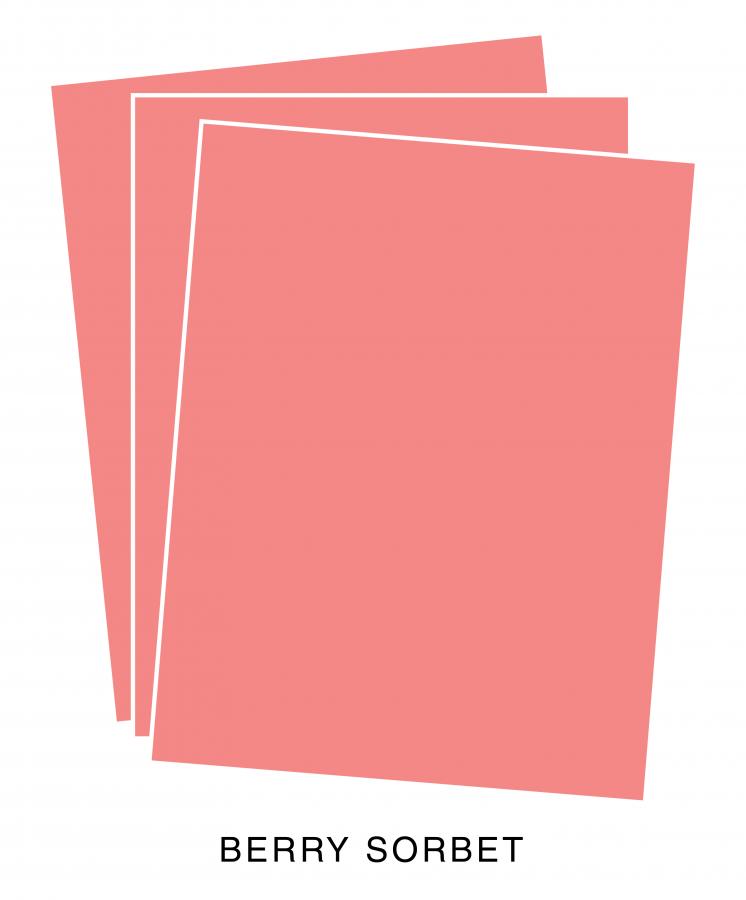
PTI Berry Sorbet Cardstock

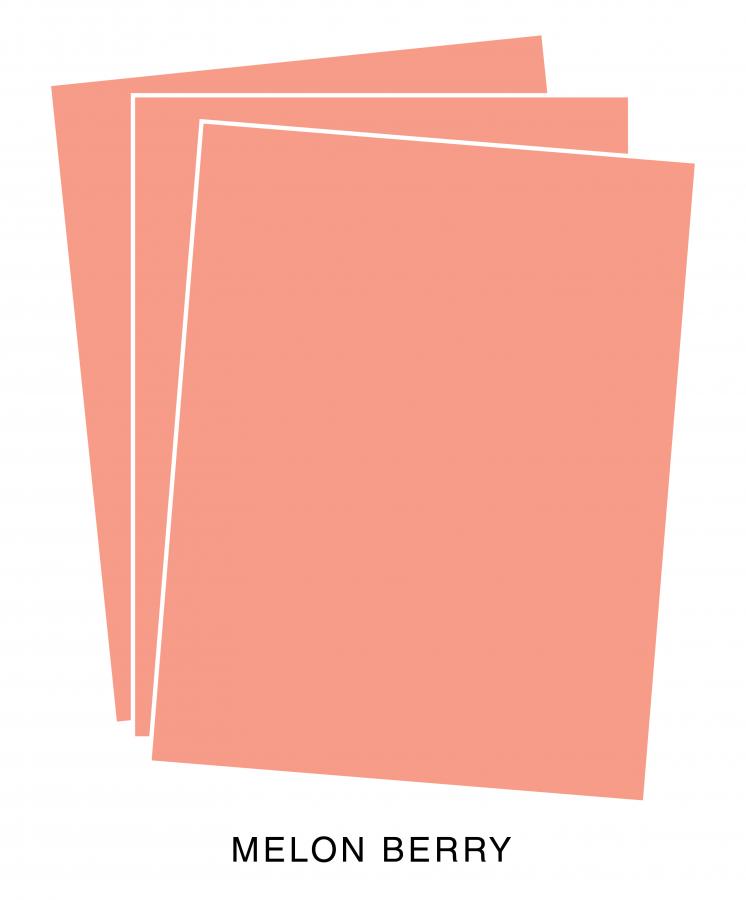
PTI Melon Berry Cardstock

PTI Soft Stone Cardstock

View blog post for supplies
Thanks for stopping by!  Please come back again!
Share:

Friday, February 14, 2014

Card A Day Blog: St. Patrick's Day

Hello!  How are you all doing?  Good I hope!  Do you feel lucky?  Well I have a card to show you that will give you luck!  I'm in charge of coming up with a St. Patrick's day card for the Card A Day blog today.  I never ever make cards for this occasion.  I have a friend who loves this holiday and anything Irish so I plan on surprising her with this card! 
Papertrey Ink's anniversary contest continues so I decided to enter this card in that challenge as well.  Here is the sketch I used.

Here is the color combo:

I used all Papertrey Ink stamps.  The background was stamped with Background Basics:  Chevron Stripe.  The circle was stamped with Fancy Flourishes. The sentiment is from Paper Tray.  The shamrock sticker is from a scrapbooking kit I purchased years ago.  I had a hard time with this sketch.  I don't particularly like the string but it looked so plain without it.  A few sequins finish off the card.  A small white seed bead was attached to the center of the shamrock's sequin.

Hope it is warm in your neck of the woods!  It is cold and snowy here.  The kids have school off yet again!  Poor kids will be going to school all Summer!

Thanks for visiting!  Please come by again!

Share:

Saturday, August 24, 2013

Card A Day blog post: Milestone Birthdays and Color Throw Down

Hi!
I'm excited to tell you I have become a designer for Card A Day blog.  In case you don't know what that is it's a website where various designers post one card each day based on the assigned theme.  There is sooo much inspiration and challenges too.  You've got to check it out Here!  Oh but before you leave please take a peek at what I created first!

The theme this week is Milestone Birthdays.  So...I checked out my birthday list and as luck would have it I have a cousin who is turning 16 next month.  I can't believe she is that old...I remember her as a little baby..where has time gone?

This cousin as a child was very rambunctious and didn't sit still for a minute...so when I thought of her images of a bouncy/ dangling 16 popped into my head.  Weird I know but I ran with the idea and I think it looks wonderfully whimsical.  So I started with my Card Base 4 file.  Than dangled the number 16 from my Number Charms file using baker's twine.

It's hard to tell in the photo but I turned my paper number charms into acrylic glitter charms using my turning paper into metal technique.  You can find the tut here.  I cut the number out of plain white paper then covered with a layer of stickles.  Let dry.  Layered on many coats of UTEE then when the last coat of UTEE was still hot I sprinkled on some ultra fine glitter and heated it a little more.  Once cool you have a super sparkly faux acrylic charm! (Bonus..glitter is sealed in the UTEE so it doesn't flake off)   Trust me this photo just doesn't do the glitter justice..it shines in real life!  I can't wait to try this with different colors of glitter!

I got the gorgeous color scheme from the current Color Throwdown Challenge


Aren't those colors just gorgeous!  I just love color challenges takes the guess work out of where to begin.  Stamps also make it easy to abide by the color scheme.  I used Papertrey Ink's Background Basics:  Chevron Stripes Stamp set to make my chevron paper strips.  I just love chevrons!  Can't wait to try them in masculine colors!  Flowers and gems finish up the card.

My store is closing soon and I'm not sure when I'll have my files into a new store (please follow my blog to keep up to date on my whereabouts)  so cash in now at the best prices I have ever offered by going shopping here before it's too late!

Thanks for stopping by!  I hope you'll come back again!  Have a wonderful weekend!
Share:

Friday, January 06, 2012

PTI Make it Monday#47 and mission organization

Howdy, I hope you all had a wonderful Christmas and 2012 is off to a good start. We had a great and blessed Christmas but the holiday season went way too quickly. I can't believe it is 2012 already! So....what are you goals? One of my goal is to get my craft room organized. So....I figured just in case you guys have a similar goal for the new year...I would share my methods for organization. I will go through each item through seperate posts and share with you the way I organize and other ways I found on the internet. I will post every Monday. I will also provide an InLink tool so you can share your methods too. If there is anything specific you want me to feature please let me know and I will try my best to help. Since I am such a ribbon addict I will be showing you how to organize ribbon on Monday the 9th. So please stop in. But don't leave just yet...I have a masculine card to share with you. I always struggle with masculine cards especially ones for teens. I had to make my nephew an 18th birthday card and couldn't figure out what I wanted to do. I came across Jennifer McGuire's Chevron Borders technique video and immediately wanted to try it plus I wanted to participate in Papertrey Ink's Make it Monday challenge #47.

I used my Number Charms and embossing powder to make them look like metal. Believe it or not...the charms are actually cut out of the same green paper as the star. Below is the close up of the numbers.

To the right is a picture that shows the back of the numbers....so you can see they were once green.
I used two layers of silver embossing powder and one of UTEE. You can see my tut on how to turn paper into metal here.  You can purchase my number charms here.

Let's see here are the PTI supplies I used:
 star from Let Freedom Ring
Sentiment from Paper Tray 

I used MIM
#34 Thick Chipboard Accents (star)
#9 Heat Embossing (for numbers and star in the center of bigger star)
#5 Distressing Edges (star)


I also used Tim Holtz Gridlock embossing folder.   I should have chosen a different color for the star as it kinda blended in to the chevron border.  So to give a little more depth I took a marker to the edge.  I also used baker's twine to hang the number charms.

 Oh and a few tips about the chevron border technique.  It is a great way to use scraps.  It does take a little while.  But if you make a card similar to the one Jennifer did you can get 4 cards for your effort.  I used 5 different papers and cut them 1/4" x 12" and still had a few smaller strips left over.  I did use stick glue to be frugal but found I had to apply the glue one section at a time or it would dry before I would finish. 

Thanks for stopping by!  Have a glorious weekend and don't forget to visit on Monday for my organizational mission!
Share: