This week's Make it Monday challenge over at Papertrey Ink involves stamping dangles. Amy shows exactly how to do the dangles in a great video HERE.
 I actually really enjoyed this technique. It is so wonderfully whimsical! It's totally unlike my usual style. They key here is to just stamp and not worry about lining things up perfect. The lines and bows are drawn in by hand for a very free form look. I had fun looking through all my stamps to find images I could stamp to mimic "beads". This definitely gave new life to all those tiny stamps I often neglect. I very rarely do one layer cards. I had to restrain myself from adding some glossy accents to give some dimension. I am also not good with white space. However, I really did like the end result of my card. The scallop card base adds enough interest without the need for a dimensional layer. I liked these so much I made 4 of them.

I thought it would be fun to do them in different colors. This would make a unique gift set!
Supplies listed and linked below:
Warning I used 10 colors of ink and 9 different stamp sets. If you try this technique keep track of which stamp went to which stamp set. I of course didn't do this. I just attach them all in a group on a rectangle acrylic block. Now I need to figure out where they belong! UGH!
PTI True Black Dye Ink
Thanks for stopping by! Please come back again!


I thought it would be fun to do them in different colors. This would make a unique gift set!
Supplies listed and linked below:
Warning I used 10 colors of ink and 9 different stamp sets. If you try this technique keep track of which stamp went to which stamp set. I of course didn't do this. I just attach them all in a group on a rectangle acrylic block. Now I need to figure out where they belong! UGH!
 PTI Paper Tray Stamp Set (Vault) |
 PTI Paper Clippings: Birthday Stamps |
 PTI Garden Gate stamps (no longer available) |
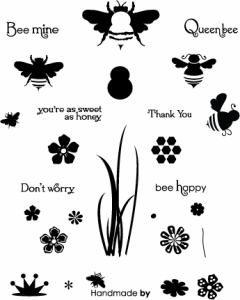
 PTI Sweet Holiday Wishes |
 PTI Splits: With Love stamps |
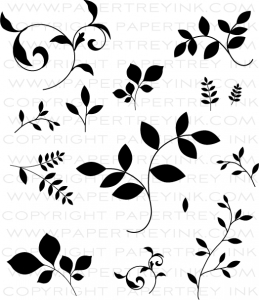
 PTI Frienship Jar Flowers |
 PTI Center Style: Feminine Stamps |
 PTI Wonderful Words: Birthday Stamps |
 Hero Arts Exclusive PRAYERS Stamps and Dies Set |
 PTI Aqua Mist Dye Ink |
 PTI Berry Sorbet Dye Ink |
 PTI Green Parakeet Dye Ink |
 PTI Harvest Gold Dye Ink |
 PTI Hawaiian Shores Dye Ink |
 PTI Melon Berry Dye Ink |
 PTI Pale Peony Dye Ink |
 PTI Pure Poppy Dye Ink |
 PTI Tropical Teal Dye Ink |
PTI True Black Dye Ink
Thanks for stopping by! Please come back again!