Are you in the organizing mood? There is something about January that makes me want to organize. I guess it's the new year and knowing I have much crafting fun ahead of me. I want to be as efficient as possible during my crafting time. I will build up a card stash...I will scrapbook more this year! I believe if I can get everything in my craft room neat and tidy then I will indeed be more productive and achieve my crafting goals.
I work better if everything is visible and within easy reach. If I have to dig for a specific item I will not craft with it. I have shared with you some methods of organization in the past. Some of these storage system I still have in place and will not be changing them. So if you want to check them out click here to get to my older posts. I still store my larger ink pads as I mentioned in the ink pad storage post.
I have started to favor ink cubes verses the full size ink pad. The lower price point is a great way to collect many ink colors. I don't even buy the reinkers right away because these little cubes seems to hold a ton of ink. Plus I stamp with my MISTI stamping tool 99% of the time. The ink cubes leave less ink on the lid of the MISTI when inking up the stamp. I began to accumulate many colors and needed a different way to store them. I liked the Tim Holtz distress ink tins but didn't want to have to sort through many tins to figure out which ink I needed. I wanted a holder that would hold more cubes of ink. So I surfed the net and found this amazing video by KWCardDesign. Kari had a clear plastic case that held 32 cubes. I was amazed! I just knew this would be the perfect solution for my ink cube storage! Check out her fab video by clicking HERE.
The first set of inks I bought were Momento.
 This is a clear plastic case with lid that snaps securely shut. Which is wonderful if you travel with your ink. It is made by Darice. It is 13.7 x 8.6 x 1.37 inches. Kari mentioned she found hers in the bead section at Walmart. I couldn't find any at my Walmart so I ended up ordering the cases from Amazon. Click here to see the cases on Amazon. As you can see in the photo...the two slots by the handle are smaller than the rest so I could only fit 30 Memento Dew Drops in here but fortunately that is all I had.
Next, I started collecting Papertrey Ink cubes. I really like the colors of these inks so I am slowly accumulating all of them. They fit perfectly in the cases too.
 The little spaces by the handle are perfect for the round blending sponges.
 Above you can see the case closed. The see through nature makes it easy to which ink is in which case. I simply stack all 4 of my cases on top of one another on my metal shelving unit behind my office chair.
Oh and one more tip abou ink cubes. The lids sometimes seem loose so I have found a solution for this:
 Do you remember the rainbow loom? My kids each got one as Christmas gifts a few years ago. They were obsessed with these things. We made keychains, necklaces, bracelets, all kinds of stuff! Now though they hardly ever use these things. So I discovered the loom bands are the perfect size to wrap around the ink cubes to secure the lid. My daughter donated this color because she says she won't need it. Just in case you don't know what I'm talking about...you can find the loom bands on Amazon here. Some of the loom bands are thicker and better quality. The ones I linked are from the Rainbow loom company so chances are they are better than the ones I have shown here. I think we got these at Ollies when they were popular so they are a bit thinner than other brands. I can't remember having any break though. I haven't tried them but if you can't find any loom bands I would try the hair bands as they are similar in size. Oh and these bands tend to blend in with my tan desk and get lost easily. So I am going to ask the kids if I can have some brighter ones. So keep the color of your work space in mind before shopping for bands.

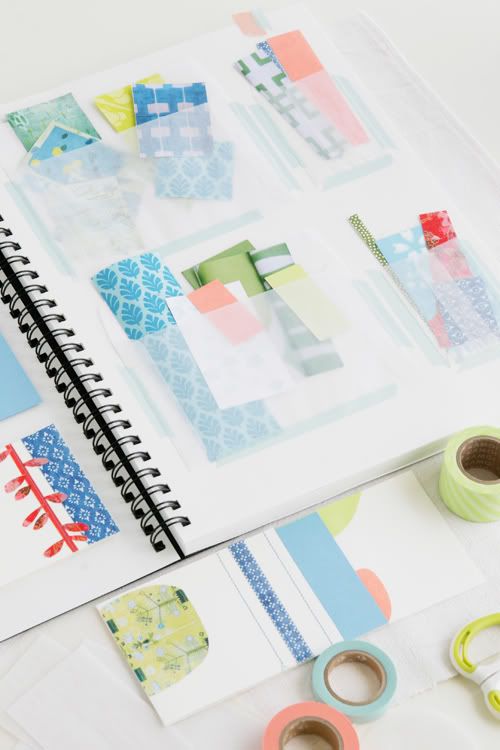
As you can see in the photo above distress inks fit nicely in it too. The rectangle you see is an extra piece of stamping rubber that I cut into a rectangle to use to make my ink swatches. (Tip: If you don't have extra stamping rubber simply use some fun foam cut to size to stamp your ink swatch with) I use Jennifer McGuire's ink swatch system. She uses coin pockets to store labeled ink swatches. This truly is an amazing system and I am thrilled with it! She even has printable downloads on her blog for many of the ink brands. Check out all the deets on Jennifer's blog here.

I am still collecting PTI ink colors. One of these days I will have all the ink but until then I write in pencil the color of Momento ink I have that is similar to the PTI ink color so I can use that until I get their ink. Once I get the ink I can simply erase the pencil markings and stamp in the swatch. If you click on the photo to make it larger you will see I have tangelo written on the orange zest spot.
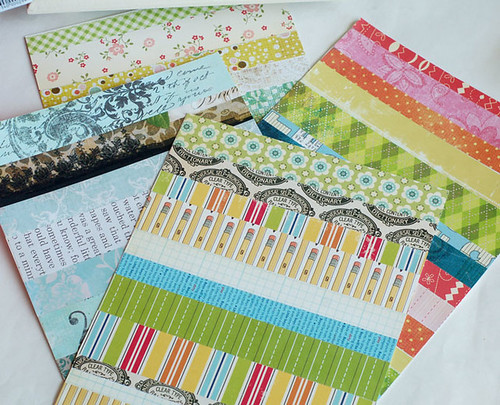
 See that asterisk in the left hand corner? This denotes that I have a reinker in this ink color. The ink cubes really do stay saturated with ink for a long time. I bet I have some cubes that are 2 years old and still don't need reinking. Anyway, when I notice an ink pad is getting dry I simply look on my swatch book and if I don't have an asterisk there I know to add the ink refill to my next order. Plus certain techniques require the use of reinkers. By looking at my swatch I can see which colors I can work with for those techniques. On the back of ink swatch pocket I put the matching card stock swatch (more on this later).
Items needed for my ink cube storage and ink swatch system:
I have been using this ink storage system since for a year now and really love it! I am so glad I stumbled upon Kari's video! Thanks Kari! I am definitely on a mission to organize my craft room so stay tuned for more posts in the future. Thanks for stopping by!
*Just to let you know I am not affiliated with Amazon in any way. I feel you should shop wherever you can get the best price and best value for your money. I just provide you with links so you can see exactly the products involved. But...I will say Amazon is an easy way to get everything you need for my ink storage and ink swatch system all in one stop. Amazon has excellent costumer service too so if something isn't right they will fix it. I have been a customer of theirs since 2007.

I work better if everything is visible and within easy reach. If I have to dig for a specific item I will not craft with it. I have shared with you some methods of organization in the past. Some of these storage system I still have in place and will not be changing them. So if you want to check them out click here to get to my older posts. I still store my larger ink pads as I mentioned in the ink pad storage post.
I have started to favor ink cubes verses the full size ink pad. The lower price point is a great way to collect many ink colors. I don't even buy the reinkers right away because these little cubes seems to hold a ton of ink. Plus I stamp with my MISTI stamping tool 99% of the time. The ink cubes leave less ink on the lid of the MISTI when inking up the stamp. I began to accumulate many colors and needed a different way to store them. I liked the Tim Holtz distress ink tins but didn't want to have to sort through many tins to figure out which ink I needed. I wanted a holder that would hold more cubes of ink. So I surfed the net and found this amazing video by KWCardDesign. Kari had a clear plastic case that held 32 cubes. I was amazed! I just knew this would be the perfect solution for my ink cube storage! Check out her fab video by clicking HERE.
The first set of inks I bought were Momento.

Next, I started collecting Papertrey Ink cubes. I really like the colors of these inks so I am slowly accumulating all of them. They fit perfectly in the cases too.


Oh and one more tip abou ink cubes. The lids sometimes seem loose so I have found a solution for this:

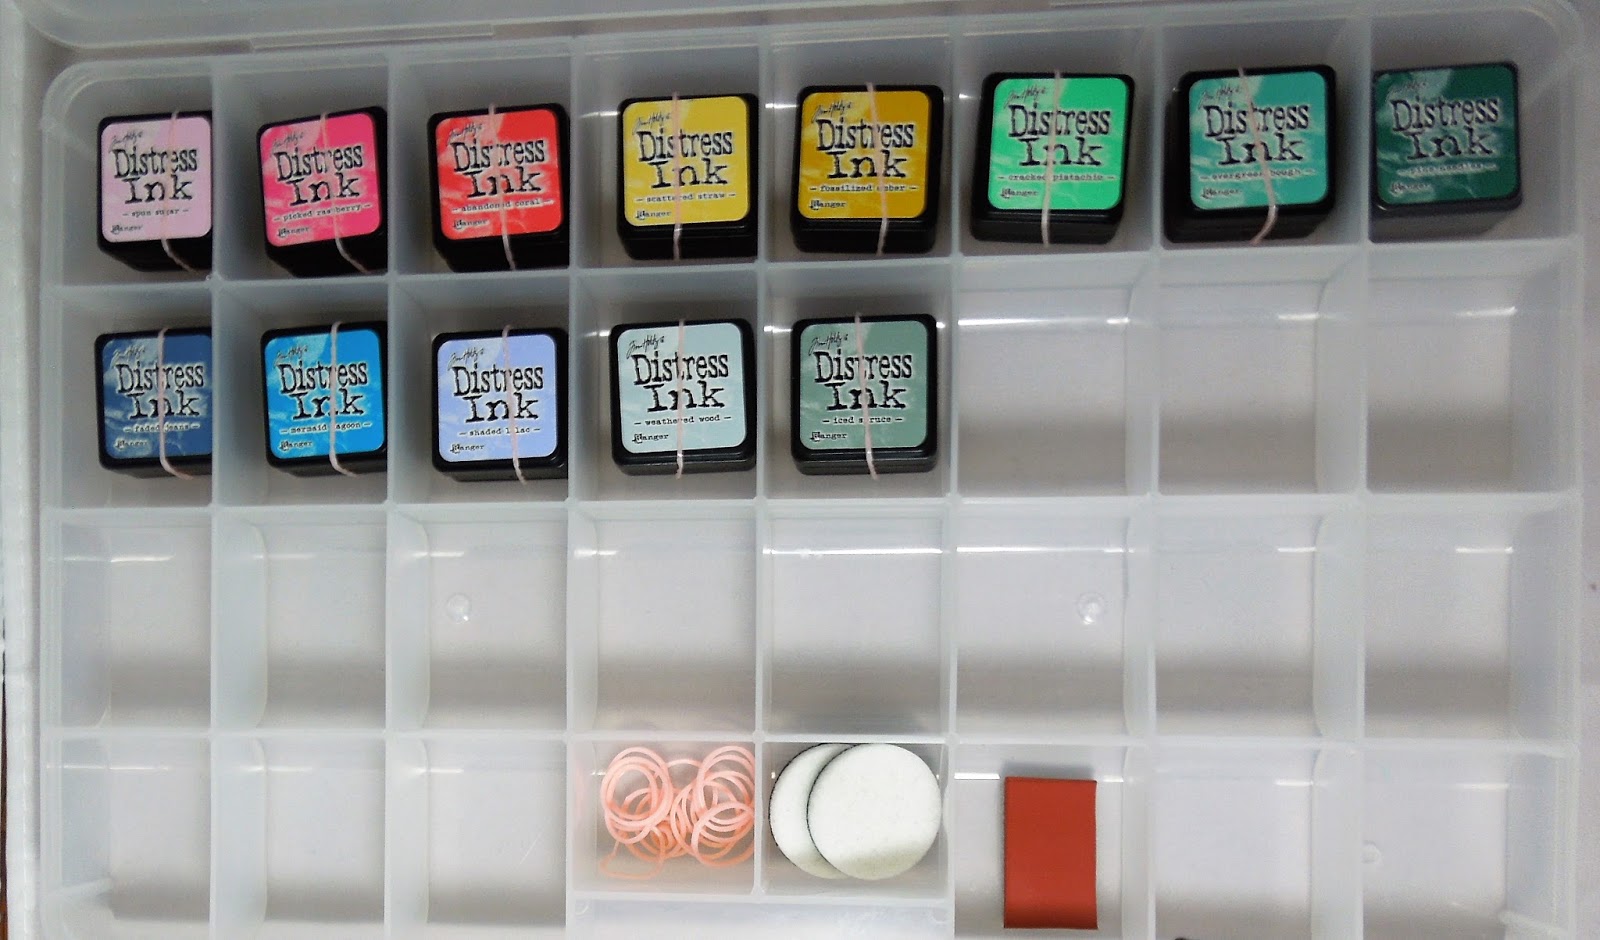
As you can see in the photo above distress inks fit nicely in it too. The rectangle you see is an extra piece of stamping rubber that I cut into a rectangle to use to make my ink swatches. (Tip: If you don't have extra stamping rubber simply use some fun foam cut to size to stamp your ink swatch with) I use Jennifer McGuire's ink swatch system. She uses coin pockets to store labeled ink swatches. This truly is an amazing system and I am thrilled with it! She even has printable downloads on her blog for many of the ink brands. Check out all the deets on Jennifer's blog here.

I am still collecting PTI ink colors. One of these days I will have all the ink but until then I write in pencil the color of Momento ink I have that is similar to the PTI ink color so I can use that until I get their ink. Once I get the ink I can simply erase the pencil markings and stamp in the swatch. If you click on the photo to make it larger you will see I have tangelo written on the orange zest spot.

Items needed for my ink cube storage and ink swatch system:
White Cardstock you normally use for stamping
I have been using this ink storage system since for a year now and really love it! I am so glad I stumbled upon Kari's video! Thanks Kari! I am definitely on a mission to organize my craft room so stay tuned for more posts in the future. Thanks for stopping by!
*Just to let you know I am not affiliated with Amazon in any way. I feel you should shop wherever you can get the best price and best value for your money. I just provide you with links so you can see exactly the products involved. But...I will say Amazon is an easy way to get everything you need for my ink storage and ink swatch system all in one stop. Amazon has excellent costumer service too so if something isn't right they will fix it. I have been a customer of theirs since 2007.