Showing posts with label birthday card. Show all posts

Sunday, March 20, 2016

Papertrey Ink Create Along With Us March

Papertrey Ink has a create along with us challenge this week. The way this works is you pick a card from one of the fabulous design team and use that as inspiration to make your own card.  I chose to mimic Ashley Cannon Newell's gorgeous card: (check out her blog to see more of this card here)

Ashley's  card is soo great that I didn't change much at all.  Why mess with perfection..right!  Below is my card:
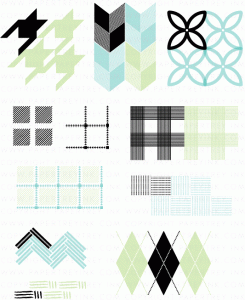
I didn't have the paper Ashley used so I used PTI's autumn pattern pieces stamp set to mimic the plaid paper.  I also substituted felt rick rack for the red ribbon.  I did add a little bit of Prismacolor pencils blended with gamsol to try and make the cake look more rounded and give some depth to the strawberries.  Oh and I used a different sentiment on the bottom but it's the same just in a different font.

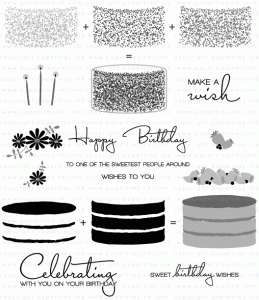
I simply love this new just desserts set from PTI!  It has numerous stamps that can be used to assemble various layers of cake and icing.  I can't wait to try a chocolate cake with peanut butter icing.  Yummy! There are many options to adorn your cake with too..in addition to the strawberries you can use candles or flowers. Yep...you will definitely be seeing more of this set in the future! The only downside of using this stamp set it that it makes me hungry for cake!!!

Supplies are listed and linked below:

PTI Just Desserts Stamp Set

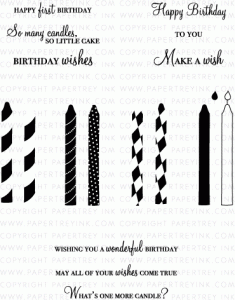
PTI Wishes Come True Stamp Set 

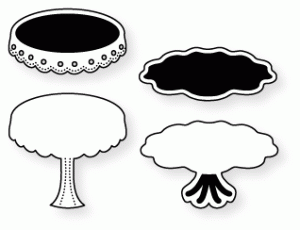
PTI Cake Plates Die

PTI Autumn Pattern Pieces Stamp Set

PTI Green Parakeet Dye Ink

PTI Lemon Tart Dye Ink

PTI Pure Poppy Dye Ink

PTI Sweet Blush Dye Ink

Memento Soft Sky and Grape Jelly Dye Ink
Prismacolor Pencils and gamsol

Thanks for stopping by!  Please come back again!

Share:

Monday, January 18, 2016

Scrapbuster Card and Color Throwdown #375

I'm back again!  Can you believe it only 1 day between posts!   As I mentioned in yesterday's post one of my goals for 2016 is to use some of my neglected crafting items.  So I thought it might be good to do some scrapbuster cards.  Okay so you may be asking what is a scrapbuster card?!  Well in my eyes it is a card that uses up little scraps of paper.

When I first started card making my card designs centered around patterned  paper and solid paper die cuts.  Then I got into stamping and using ink on my cards and my paper got neglected.  So when I saw Michelle's wonderful card I just knew it was perfect for those little solid scraps of paper that I can't possibly throw away.    Take a good look at this graphical beauty!

Check out the deets on her blog Here.   I just love how the focal point is tilted and the dramatic contrast of the bright colored cardstock against the soft stone background!

Trying to keep my trend of doing more challenges going I decided to duplicate this card but use the colors in the latest Color Throwdown Challenge.


 Here is what I came up with:

It's hard to tell in the photo but originally the birthday word die cuts didn't stand out from the background that much so I took a thin black sharpie and roughly drew in a shadow.  I took a photo of this in progress and that little bit of black really makes a difference.

I did emboss the sentiments but they didn't get raised much when heated.  Does embossing powder get old?  I've had this stuff forever and I could have sworn it was more raised in the past.  I added teeny tiny black rhinestones to the sentiments as a finishing touch.

I always try and make more than one card since I have everything out it is just as easy to make  4 versus one.  I had plenty of scraps left too.

I wanted something a little more bold and colorful this time so thus the rainbow die cuts on the black background.  I switched out silver rhinestones for black. I rounded both bottom corners too. 

Hopefully I'll discover more scrapbusting card designs and share them with you in the future.  I will label them as such so if you ever get tired of all your scraps collecting dust you can find my posts easily.

Supplies listed and linked below:
PTI Wonderful Words Birthday Stamps
PTI Wonderful Words Birthday Die
2MM rhinestones
PTI=Papertrey Ink

Thanks for stopping by! Please come back again!

Share:

Sunday, January 17, 2016

Papertrey Ink Create Along With Us January 2016

As always one of my goals for 2016 is to create and blog more. I have been in the process of reorganizing some of my craft room so stay tuned for post about my organizational redo soon. I find the best way to get into the habit of creating more is to enter challenges. So Papertrey Ink (my favorite stamp company) is having a challenge in which you create something based on one of the designer's creations. They call it Create Along With Us. Click HERE for more details.

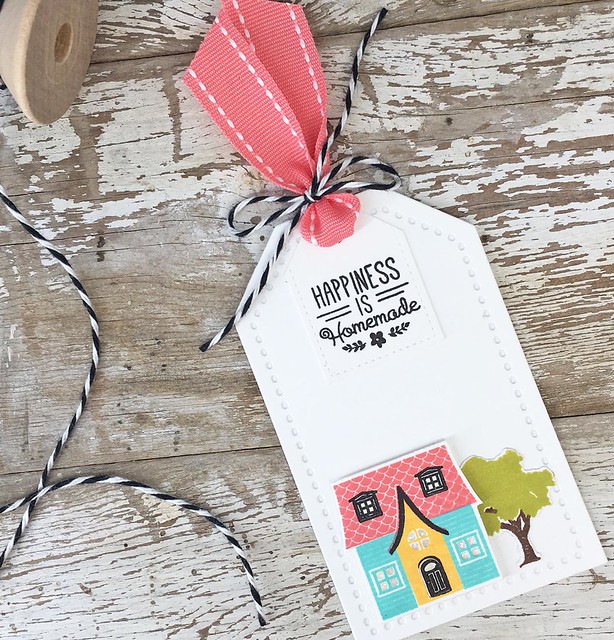
I was inspired by Laurie Willison's cute little tag.

 I just love the colors she used in her house.  I decided to mimic those colors in my own card.  I was also inspired by Betsy Veldman's amazing card set.

Well inspired by might be stretching the truth a bit!  I thought her design was soo great that I should just completely copy it!

The only thing I really changed is the sentiment.  I also added a brad to the the center that has been woefully neglected.  (Another goal trying to use some of the items I have accumulated!).  I dabbed on some Wink of Stella to the petals to give them a little shimmer.

Thanks for looking!  Supplies listed below:
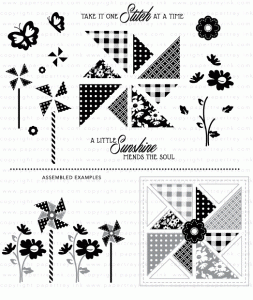
Papertrey Ink Quilted Summer Stamps
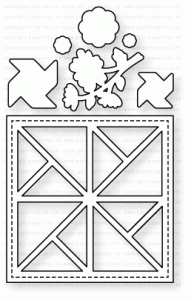
Papertrey Ink Quilted Summer Dies
Papertrey Ink Wishes Come True (sentiment)
Hawaiian Shores Ink
Berry Sorbet Ink
Momento Dandelion Ink
Wink of Stella White Glitter Brush Marker

Thanks for looking! Please come back again!

Share:

Saturday, November 07, 2015

Share Handmade Kindness Week 1: Friends and Family

Jennifer McGuire is hosting a wonderful challenge!  You can see the details here.   Week 1 (November 2 – 8) will focus on sharing any kind of handmade kindness with friends and family.

So I decided to send a birthday card to a friend of mine.

I decided to use a go to card layout modeled after a wonderful card by Lisa Johnson HERE.  This is a great one for scraps or 6 x 6 paper pads.  I used a butterfly from Papertrey Ink's Round and Round anniversary set.  I  colored the outer edge of each butterfly with Copics for some added depth. The butterflies were stamped on the PTI Happy Day die.  The antenna are hand drawn with a Sharpie marker.   The sentiment is from Papertrey Ink's Wishes Come True stamp set.   Two sizes of rhinestones and some jute twine finish off the card.  I did multiples  of these...my beloved MISTI made these card super fast to make.

The card on the right was made with scraps from the card below:

Sorry I guess the coloring is bit off.  I think it would be great to make up a bunch of these using scraps ahead of time and just add the appropriate sentiment before mailing.   You could easily make this masculine with stars, gears, or tiny balloons in manly colors.


Share:

Monday, November 02, 2015

Color Throwdown 366

I just loved Danielle Flanders "quick birthday cards in a pinch" tutorial at the Weekly Scrapper. You can see the tut here.  I always seem to be making cards at the last minute so I decided to make a few of these myself.  I decided to use the latest  color throwdown challenge. 
I have to admit I never in a million years would have paired mint green with orange but it looks great!
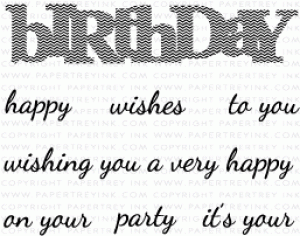
 The word celebrate is a free die cut file from Scrapbook and Cards Today.  "Its your" comes from Papertrey ink's Wonderful Words: Bithday Mini stamp set.  The word "birthday" comes from Papertrey Ink's Vintage Picnic stamp set.  I hand drew the exclamation points.   It's hard to tell in the photo but the stars are actually glittery.  I punch them out of white, colored with white wink of stella glitter brush maker and layered on top with glossy accents.  It really looks like a purchased embellishment in person.  I think the stars make this card a little more masculine then the sequins Daniel used.  I did one more card in mint green too.

A friend of mine gave me a bright paper pack to make some cards for her.  I tend to shy away from big bold colors but I figured this style of card would work well for this pack of bright colors so...


It was nice participating in a challenge again.  I look forward to doing more in the future!  Thanks for stopping by!  Please come back again!

Share:

Wednesday, June 10, 2015

Papertrey Ink's Make It Monday 214: Stamping with Neutrals

Dawn McVey has a wonderful video showing how to make neutral colors shine in your projects for the latest Make it Monday challenge.  Check it out here.


I decided to make a rustic card for the challenge.  I stamped Papertrey Ink's Turning a New Leaf  in Memento Rich Cocoa onto rustic cream card stock.  I just love the little flecks that add such interest to this card stock!  My PTI craft ink pad needs refilled but in this case the semi-dry pad was perfect for stamping a lighter set of leaves.  I added berries from PTI's bells and boughs in PTI scarlet jewel ink.  The sentiment is from PTI's Year Round Puns stamp set also stamped in scarlet jewel ink.  The flowers are from PTI's Honey Bees stamped in PTI melon berry ink.   This is definitely an older set but I have used the various flowers from this set over and over again.  They are just the perfect size!  The card seemed a little plain so to add some "zing" I added teeny tiny bronze beads to the center of the flowers with glossy accents. 

Thanks for looking!  Please come back again!

Share:

Monday, January 12, 2015

Make it Monday #197 and Colour Q #274 Birthday

I happened upon the most recent Colour Q challenge # 274. I absolutely loved these colors but....the deadline was tonight!  Yikes so I whipped up a card quick!

It's been  a very long time since I participated in a Papertrey Ink Make it Monday challenge so I figured I'd incorporate that too.  Here is what I came up with:

The MIM challenge involved making your own foam letter stickers.  Check out the great video tut here.  I really do like the raised effect this gives and the fun foam was easy to cut through.  I cut plain white cardstock letters and colored them with a Copic marker before gluing them on top of the foam letters.  I used another of my card base files.  I just love how fast this makes cards come together!  This file will be coming soon to my store.  I will update this post when it arrives. ETA:  My file is now official for sale in my store.  Click here or the preview below to purchase.

http://www.cutandcreate.com/store/index.php?main_page=product_info&cPath=106&products_id=964


I also adhered a sequin border to the back of the circular focal point.  The background was stamped with PTI's Rosie Posie and Happy Hexagon stamps.   The "Happy" are letter dies from Quick Kutz I believe.  The "birthday" is from PTI's Think Big Favorite's #12.  I stamped polk-a-dots on the banner tail using white pigment ink.

Whew!  I made it before the deadline!  Yippee!  I actually made two of these cards so I very well maybe be caught up on the cards I need for January!

I'll talk to you again soon...are you getting sick of me yet?!  I have never posted this much!  LOL!


Share:

Feminine Chalkboard Birthday Card

I hope you haven't fainted!  I just blogged yesterday and now I'm blogging again today!  An amazing feat for me since I'm not good about blogging.  One of my goals for this year is to get better at blogging so...hopefully you'll be hearing more frequently from me!

Yesterday I had posted a fun card using a wonderful  printable chalkboard sentiment from Nest of Posies.  Check out my post in case you missed it.  I printed 3 sentiments on a page so I had some left over and lots of birthdays this month so I figured why not make another.

Once again I used the current Fusion Card Challenge


I loved the colors in the sketch.  The mix of pink and gold is just beautiful.  I decided to use my Card Base 6 file again since it worked so well for my brightly colored card.

I was thrilled to finally get to use some of my handmade paper.  (My son got a paper making kit for his birthday one year.  It makes gorgeous paper from scraps!)  Keep in mind my KNK digital paper cutter will not cut the handmade paper since it is too fiberous.  However, It was easy to cut card stock triangles to use to trace a pattern on the handmade paper and cut out to place on the pennants in the top right corner.  I used a paper trimmer for the strip on the bottom.  This photo doesn't do the paper justice.  It has golden foiled diamonds and hand stitched swirls.  A few sequins and twine finished up the card. 

If you would like to purchase my file...please click here or on the preview below.

The kids had a snow day today.  They are loving having the day off..but I bet they will be awfully antsy in June when they are still in school!  I hope the weather is good in your neck of the woods! 

Have a wonderful week!  Please stop by again!

Share: